Back to the blog
5 Sep 2026

5 Sep 2026
Why your paint still feels rough after a wash, how to clay a car safely, and why skipping this step is the fastest way to spoil a film install.
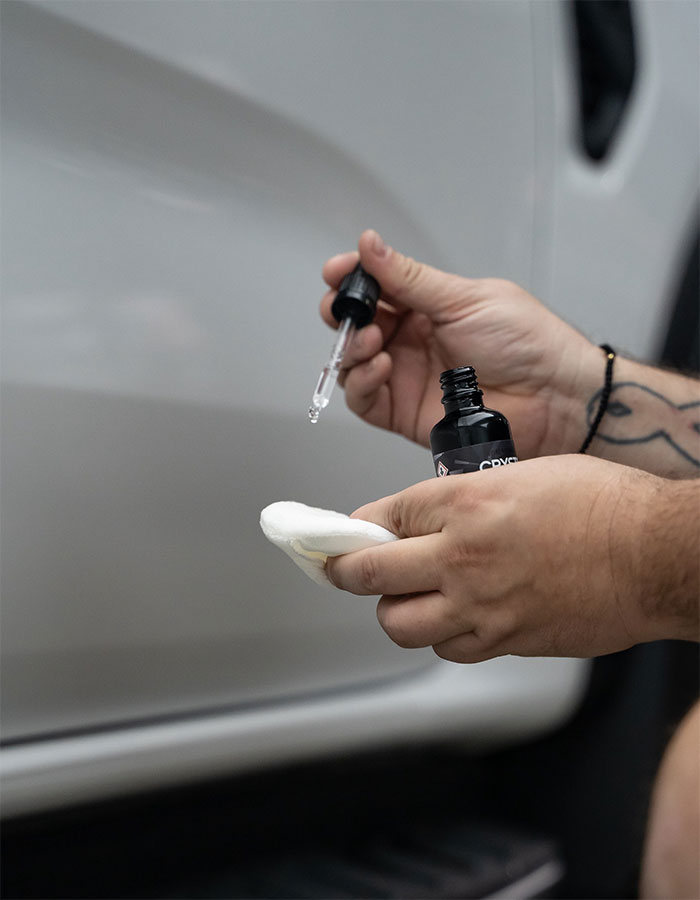
Run your fingertips over a freshly washed bonnet. If it feels gritty rather than glassy, the car is not actually clean. Washing removes what sits loose on the surface, but it leaves behind a layer of contamination bonded to the paint.
That is what a clay bar kit is for, and it is the reason the step exists in every professional detailing and film installation process. If you are considering Paint Protection Film, this stage quietly decides how good the result looks in three years.
The short answer
The basics
A clay bar kit is built around a pliable resin block that shears bonded contaminants off the surface of your paint. It does not dissolve them and it does not polish them out. Dragged across a lubricated panel, it grabs anything protruding above the surface and pulls it free, holding it in the clay.
Most kits contain the clay itself and a lubricant spray, sometimes with a microfibre towel. The lubricant is the part people underestimate. Clay used on a dry or under-lubricated panel will mar the paint, because it is a mild abrasive working under hand pressure.
What comes off is not dirt. It is a collection of particles that have embedded in or bonded to the clear coat, most of which no shampoo will lift.
01
Tiny iron particles from brake dust and industrial sources land hot, embed in the clear coat, then rust and expand. On light cars they show as orange specks.
02
Metallic particles thrown from your own brakes and passing traffic. They sit proud of the surface and are the most common cause of a rough feel.
03
Sticky and acidic. Left in the sun it hardens onto the clear coat and will not wash off with any shampoo.
04
Picked up on fresh bitumen and flicked onto lower panels and sills. It bonds hard and needs shearing off.
05
Anything from roadworks to a neighbour's fence project can settle as a fine speckle across horizontal panels.
06
Repeated sprinkler or bore water leaves mineral deposits that build into a bonded layer over time.
Put your hand inside a thin plastic bag and run it lightly over the paint after washing. The bag amplifies texture your fingers miss. If it feels like fine sandpaper, the panel needs claying.
Doing it properly
The sequence matters as much as the technique. Claying a dirty car simply grinds loose grit into the paint.
Everything loose must come off first. Any grit left on the panel gets caught under the clay and dragged across the finish, which is the main way people damage paint at this stage.
Roughly half a panel. Working larger areas means the lubricant dries before you finish, and a drying panel is where marring happens.
The surface should be visibly wet. If the clay starts to grab or squeak, stop immediately and add more lubricant rather than pushing through it.
Straight lines, no circles, and let the clay do the work. You will feel it drag at first and then go silent as the panel comes clean. That change is your signal to move on.
Contamination shows as grey or orange speckling on the face. Fold to a clean surface regularly, and discard the piece entirely if you drop it.
Remove residue with a clean microfibre, then repeat the plastic bag test. The panel should feel glassy from edge to edge before you move on.
Claying removes contamination but not swirls or etching. Any paint correction happens after this stage and before film goes on.
Never clay a panel that is drying out, and never keep using clay that has been dropped. Both put grit between the clay and your clear coat, which turns a decontamination step into a correction job.
Why we insist on it
Film bonds to whatever surface it is laid on. That single fact is why this stage is not optional in a professional install.
Contamination is sealed in permanently. Anything on the paint when the film goes down stays there for the life of the film. Iron particles keep oxidising underneath, and you cannot reach them without removing the film.
Adhesion suffers. Film needs an even, clean surface to bond across. Contaminants create high points and weak spots, and weak spots are where edges start lifting.
Texture telegraphs through. Film is thin enough that a gritty surface shows as a faintly rough finish. It never looks as glassy as it should, and no amount of polishing the film will fix it.
Bubbles form around particles. Air trapped against raised contamination becomes a visible defect, usually noticed a week after the install rather than on the day.
Removal gets messier later. Film lifted years later from contaminated paint tends to come away unevenly and leave more adhesive behind.
This is why the price of a quality film installation is mostly preparation. The film itself goes on in a matter of hours. Getting the paint genuinely clean and correct beneath it is what takes the time, and it is what separates an install that still looks sharp in three years from one that does not.
If you are having film fitted professionally, this is handled as part of the job. If you are preparing a car yourself beforehand, a clay bar kit is the single most useful thing you can buy.
Related pages
Common questions
Prep is most of the job
Decontamination and correction are included in every film and coating install we do. Tell us about your vehicle and we will explain exactly what yours needs.
Get a Free Quote